Network proxy support
Overview
The Trust1Connector allows running in a system where a network proxy is defined. Basic authentication on this is also supported.
When it will try to synchronise with the Distribution Service it will automatically detect if a network proxy is defined and provide with OS dialogs to enter the username and password if basic authentication is required.
These credentials are stored in the proxy.json file in the installation folder of the Connector. If you have changed your username, password or connecting to a different proxy the proxy.json should be deleted and the connector will ask the credentials upon next synchronisation moment.
Curl and Proxy
If your package uses CURL for specific reasons a proxy should not be set via the HTTP_PROXY and HTTPS_PROXY system environment variables. Curl will use these no matter which URL you are trying to access.
This will cause issues with internall communication of the Trust1Connector, causing the API and Registry to not be able to communicate with eachother.
MacOS
Squid 4.14
Apple sillicon has /usr/local/ in a different location. Use /opt/homebrew/ instead
Install squid
brew install squidStart squid service
brew services start squidSquid config file is stored at /usr/local/etc/squid.conf. (/opt/homebrew/etc on apple sillicon)
Comment or remove following line:
Then similar to linux config (but with updated paths) add this:
Note that path to basic_ncsa_auth may be different since it depends on installed version when using brew, you can verify this with ls /usr/local/Cellar/squid/. Also note that you should add the above just bellow the following section:
Now generate yourself a user:password basic auth credential (note: htpasswd and htdigest are also both available on MacOS)
Restart the squid service
Update network settings
Go to the network settings, on Ethernet or Wifi and click advanced

In the advanced view, go to proxies and enable both HTTP and HTTPS web proxy.
After that fill in the proxy server and port. The username and password can be provided optionally (for testing we let the applications handle this)

Save these settings, and you will now get a pop-up when the Trust1Connector needs to authenticate for the proxy.


Fill in both here and when it's correct this will connect with the Distribution server once again.
Proxyman
Proxyman does not support basic authentication
You can downoad proxyman here; https://proxyman.io/
When opening it will automatically proxy all the requests of the system by automatically setting the network settings on your system.

Now your system has a proxy that can be used for testing the Trust1Connector application. ( will be automatically detected )
Windows
Squid 4.14
cygwin
Install cygwin via www.cygwin.com
Install the libcrypt2 library.
When installation is done, copy the libcrypt dll to squid, to make sure authentication works with squid

Squid
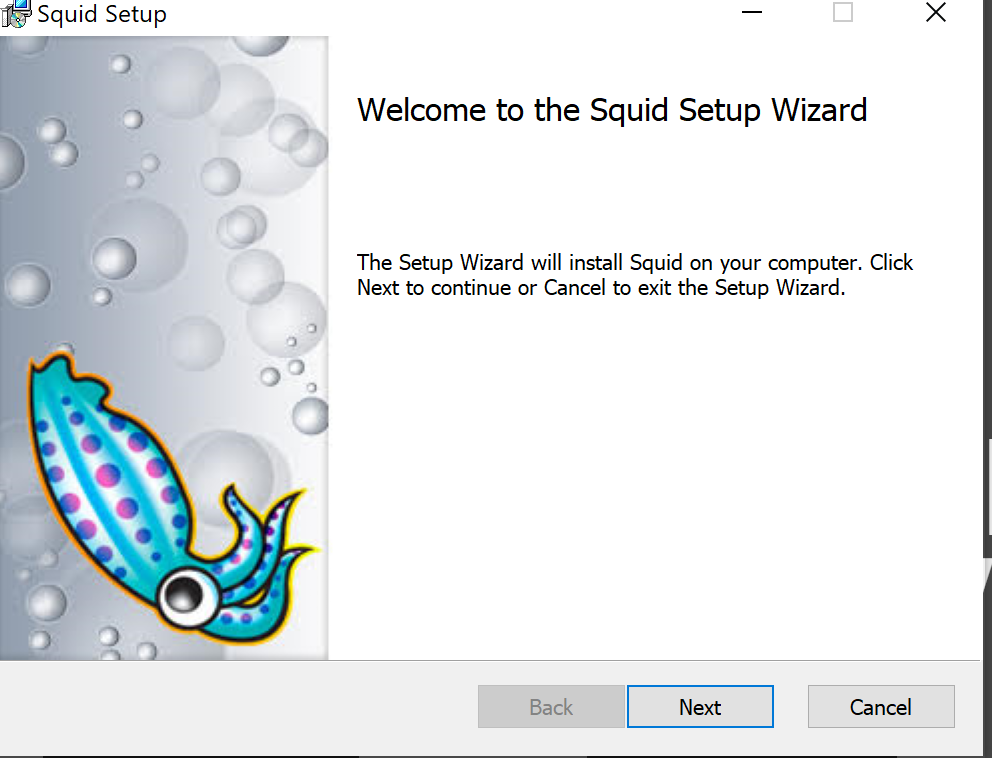
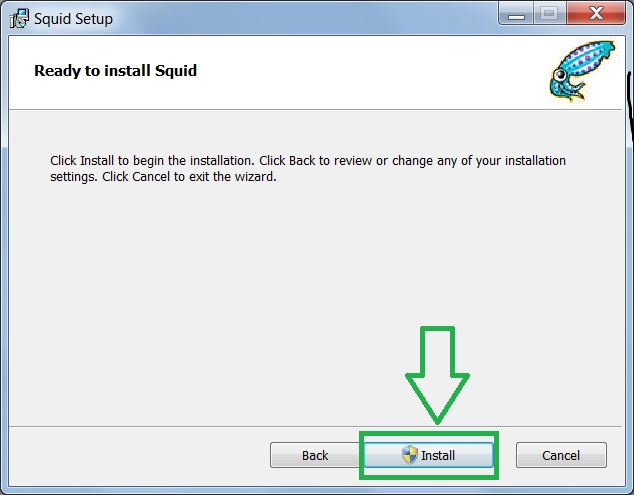
install squid from https://squid.diladele.com/


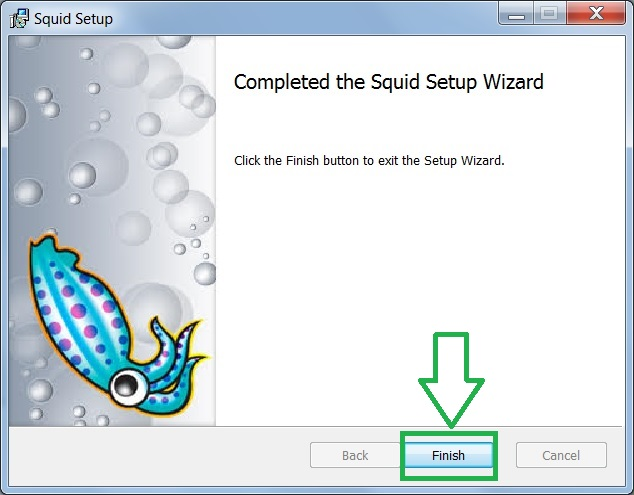
When you click “Finish” the installation process is finished. You should see a squid application appearing in the tray. This application allows you to start/stop the squid service as well as change the squid configuration.

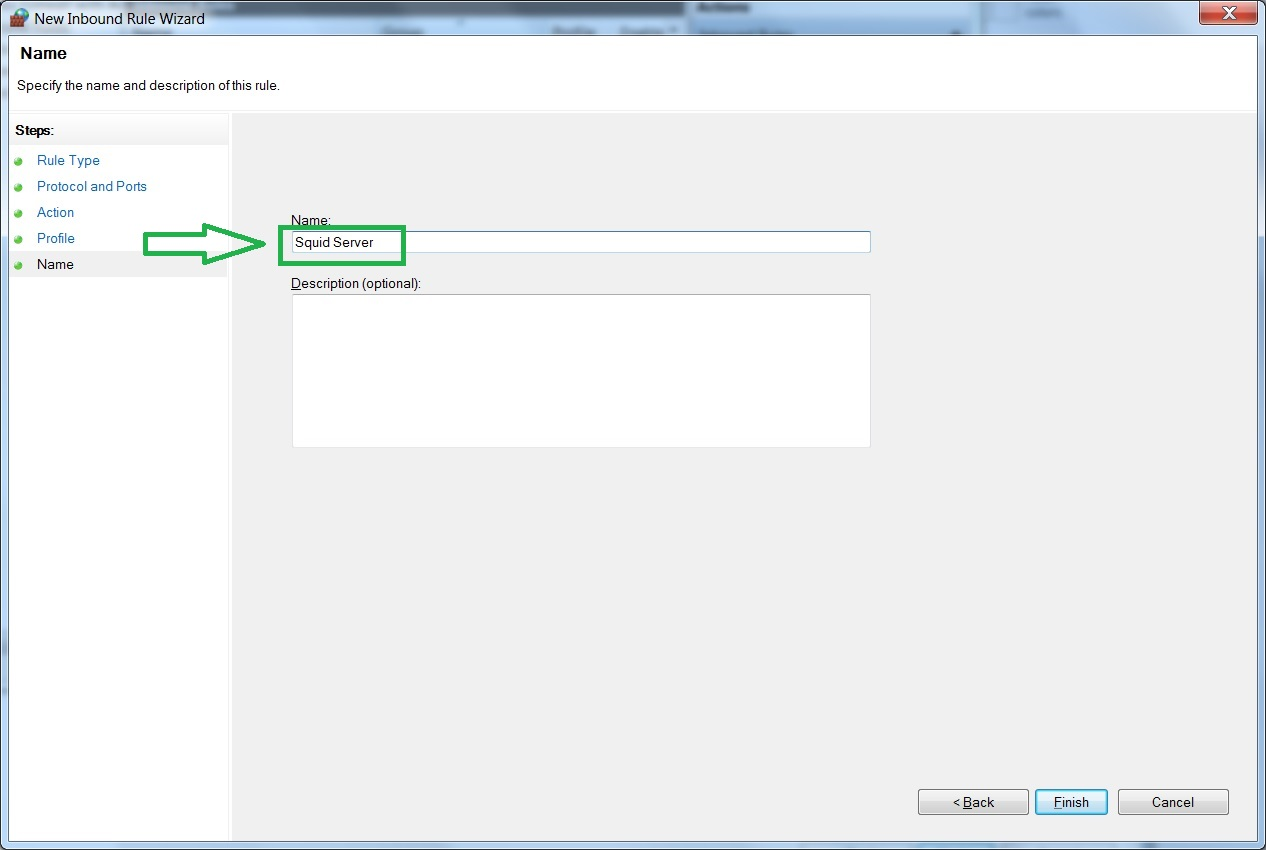
During installation the MSI installer opened TCP port 3128 required to connect to your Squid instance from another machines in your network. If for some reasons this does not work or works not as expected please follow these steps to open required TCP ports.
Type “Windows Firewall with Advanced Security” in the Start Search string on Windows 7 or 8 and press Enter. Click “Inbound Rules” and then “New Rule”.

Create an inbound rule to allow clients connect to the 3128 TCP port, the default port where squid is running.


Now we can configure the squid proxy to enable basic authentication for our tests. First we'll configure the squid config.

For this you can use the configuration below. Line 51-54 are the most important + we comment all the http_access allow variables except the ncsa_users one
Next up we'll configure our user. We need to go to the squid folder for this.

In etc we will store a .htpasswd file which will contain our. You can create the user that needs to be stored in this file in https://hostingcanada.org/htpasswd-generator/
after this you can stop and start the squid service
The server side configuration is over. Now let’s configure the client side. For that you have to specify the proxy in the network settings


Provide the manual proxy server with ip 127.0.0.1 and port 3128 now you can save and test the Trust1Connector
Was this helpful?

