

Installation
The article describes the installation and removal of the Trust1Connector.
Windows
Installation
API
After downloading the executable, open it by double clicking on it and follow the tutorial.
Choose 'I accept the terms in the License Agreement' and click Install.

Click Finish. The Trust1Connector is now installed.

Removal
Uninstalling the Trust1Connector can be done via the apps page in the windows settings.


Installation via MSI
In windows you can use the msiexec command to install the Trust1Connector. The following command runs the MSI installer for installation
You can also install in Quiet mode via the /qn parameter
Removal via MSI
For removal we can also use msiexec, the command is similar to installation but with the main difference being using the /x parameter instead of the /i
You can also remove in Quiet mode via the /qn parameter
macOS
Installation
Download the package Trust1Connector.pkg and open it by double-clicking on it.

Double click on Trust1Connector.pkg.

Click Continue.

Install the program with the Install button

Provide your administrative username and password. This step is required to circumvent a bug that is present in the MacOS software.
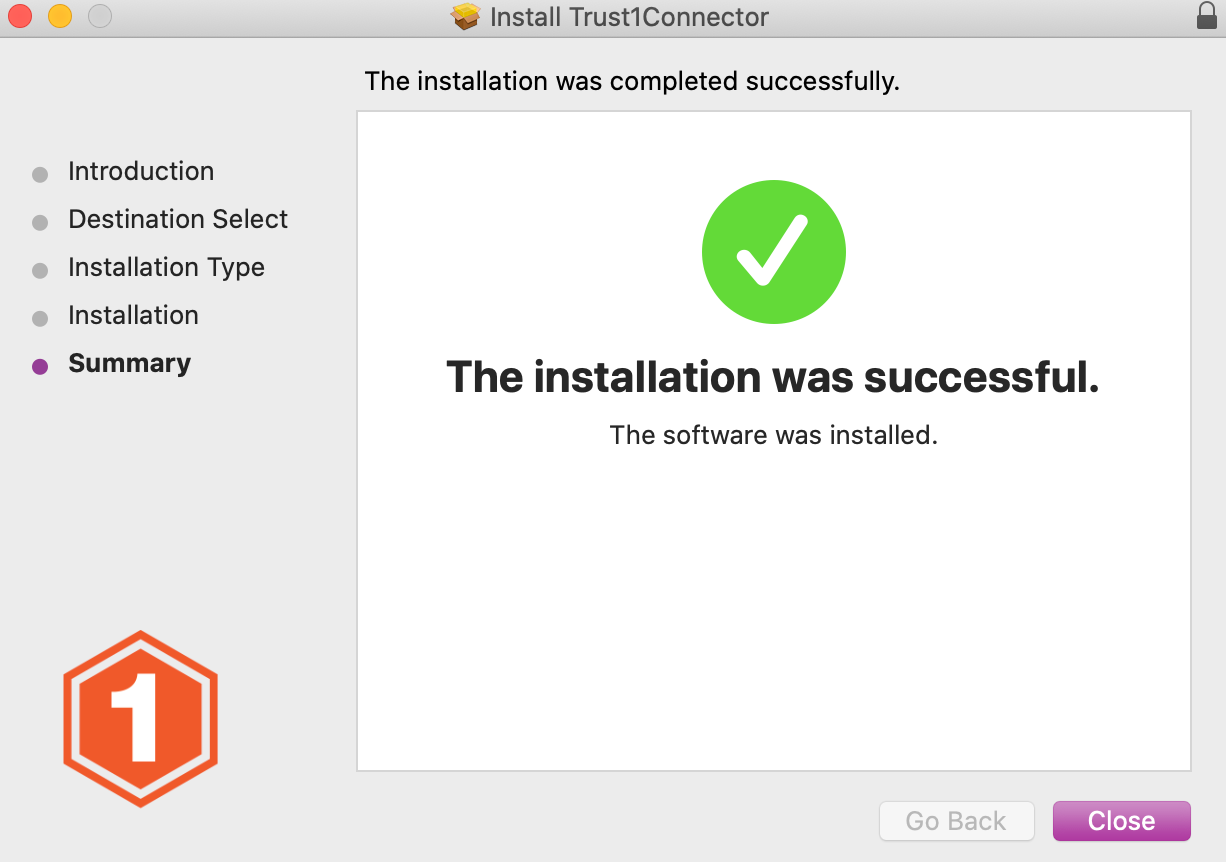
Click on Close. The Trust1Connector is now installed.

You have the choice to keep the disk image installer or to put it to the Bin. This choice will not affect the installation of the Trust1Connector.
Removal
To uninstall the Trust1Connector, open a terminal. Open Spotlight (top right icon or cmd + space) and type 'terminal'. Press enter and enter the following command.
The Trust1Connector is now uninstalled
Last updated
Was this helpful?